Creating and editing groups
On this page:
Random groups
Random grouping only takes into account any students you mark as absent, and students you’ve set to either work together or not work together. No criteria (E.g., assignment scores) are used to create the groups.
Select the class you are creating the group for from the list at the top of the page.
Click Groupings on the upper left of the page.
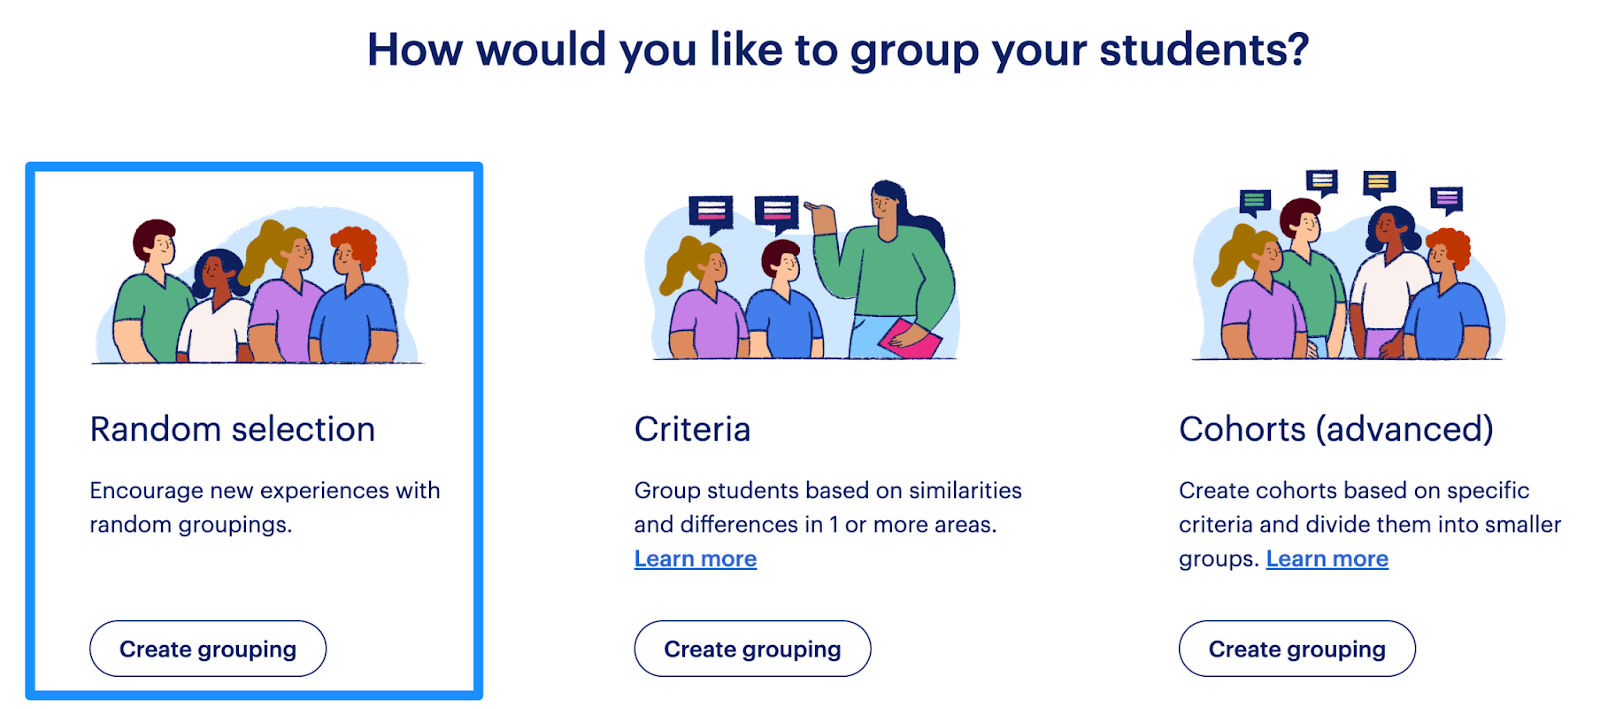
Click Create grouping under Random selection.
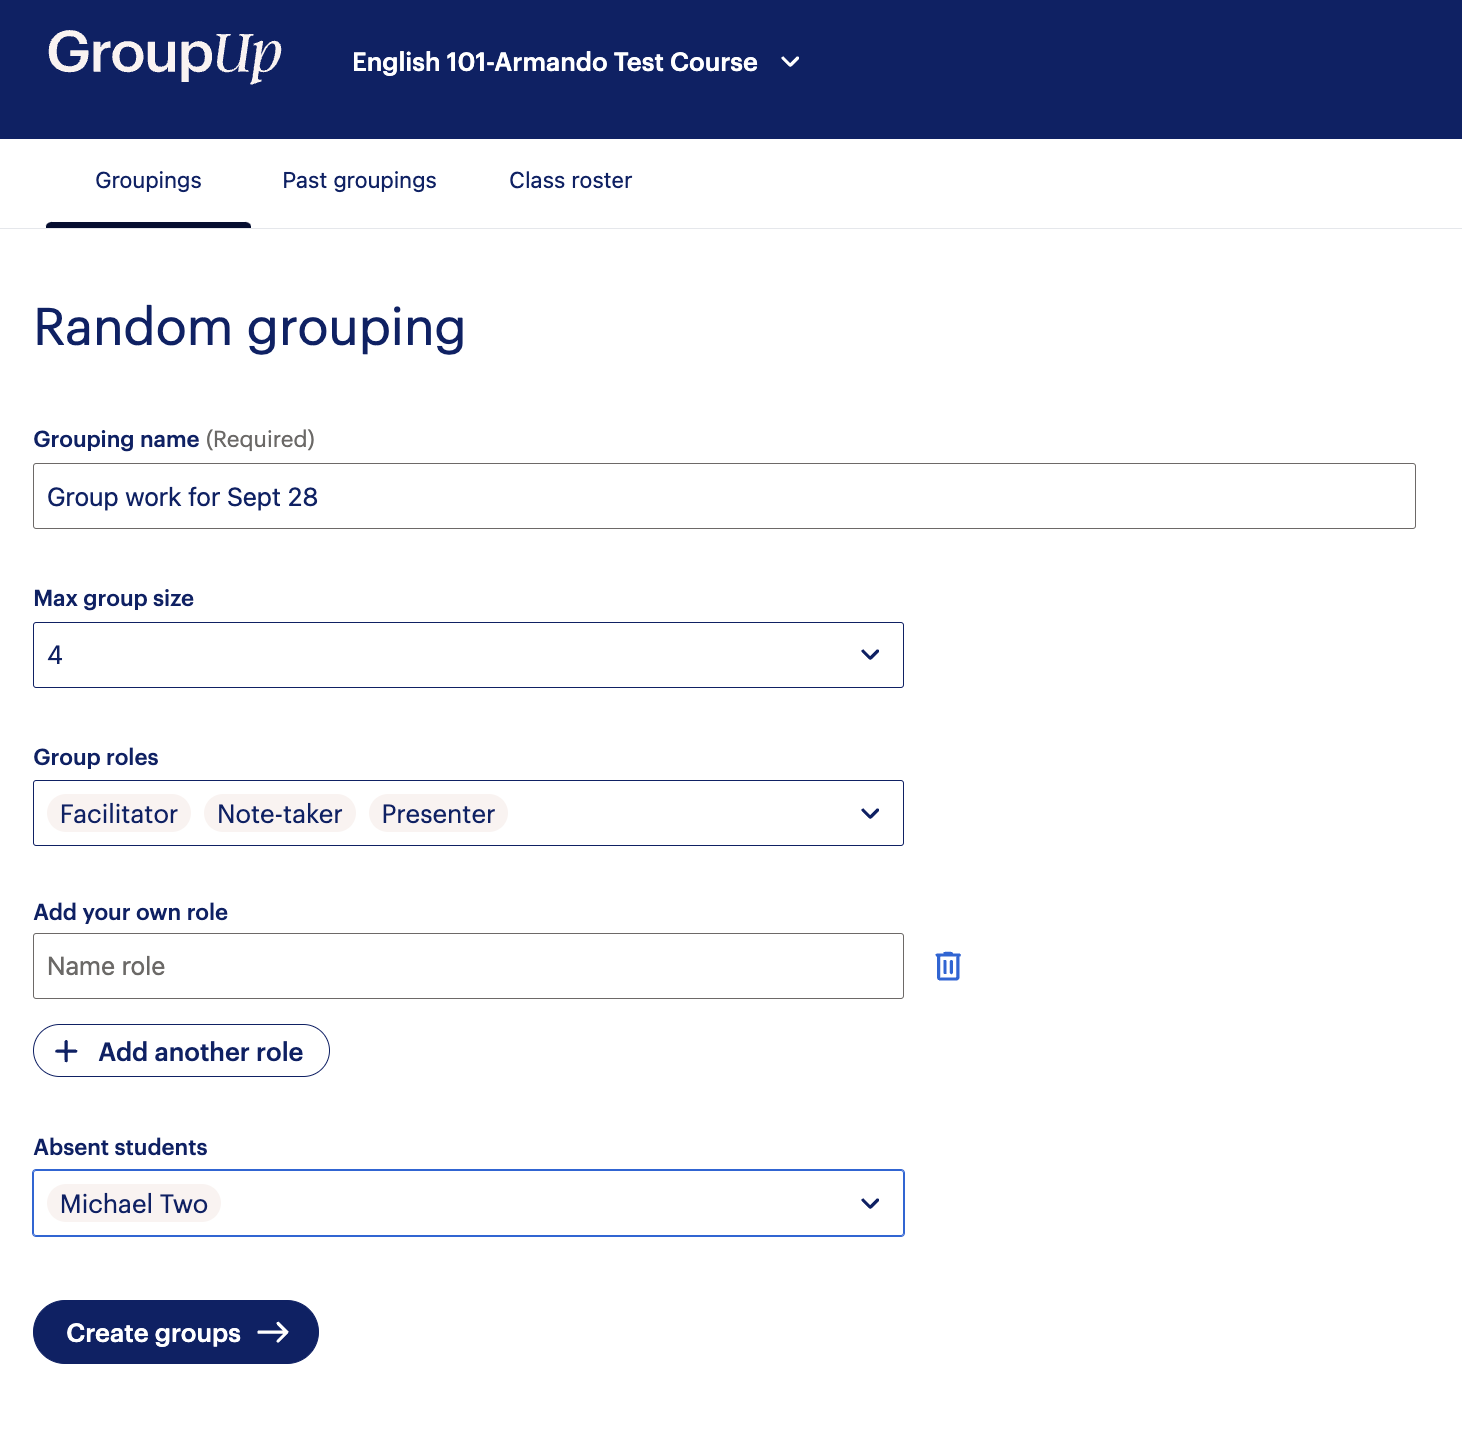
Give the group a name.
E.g., Monday’s reading assignment discussion.Specify the number of students you want in each group with the Max group size.
Select any Group roles you want to assign in each group. You can select more than one role in the list. You may also add in your own roles.
E.g., A facilitator, timekeeper etc.Select any absent students so they aren’t included in groups.
Click Create groups to review the groups.
Click Show to class when you are done reviewing the groups.
Criteria-based groups
Criteria-based groups help you create groups that put together students with similar attributes or scores, or that mix people with a variety of attributes.
E.g., You can create groups of students with similar mastery of the subject, or create complex groupings where everyone has a similar mastery of the subject, but different levels of English mastery.
Select the class you are creating the group for from the list at the top of the page.
Click Groupings on the upper left of the page.
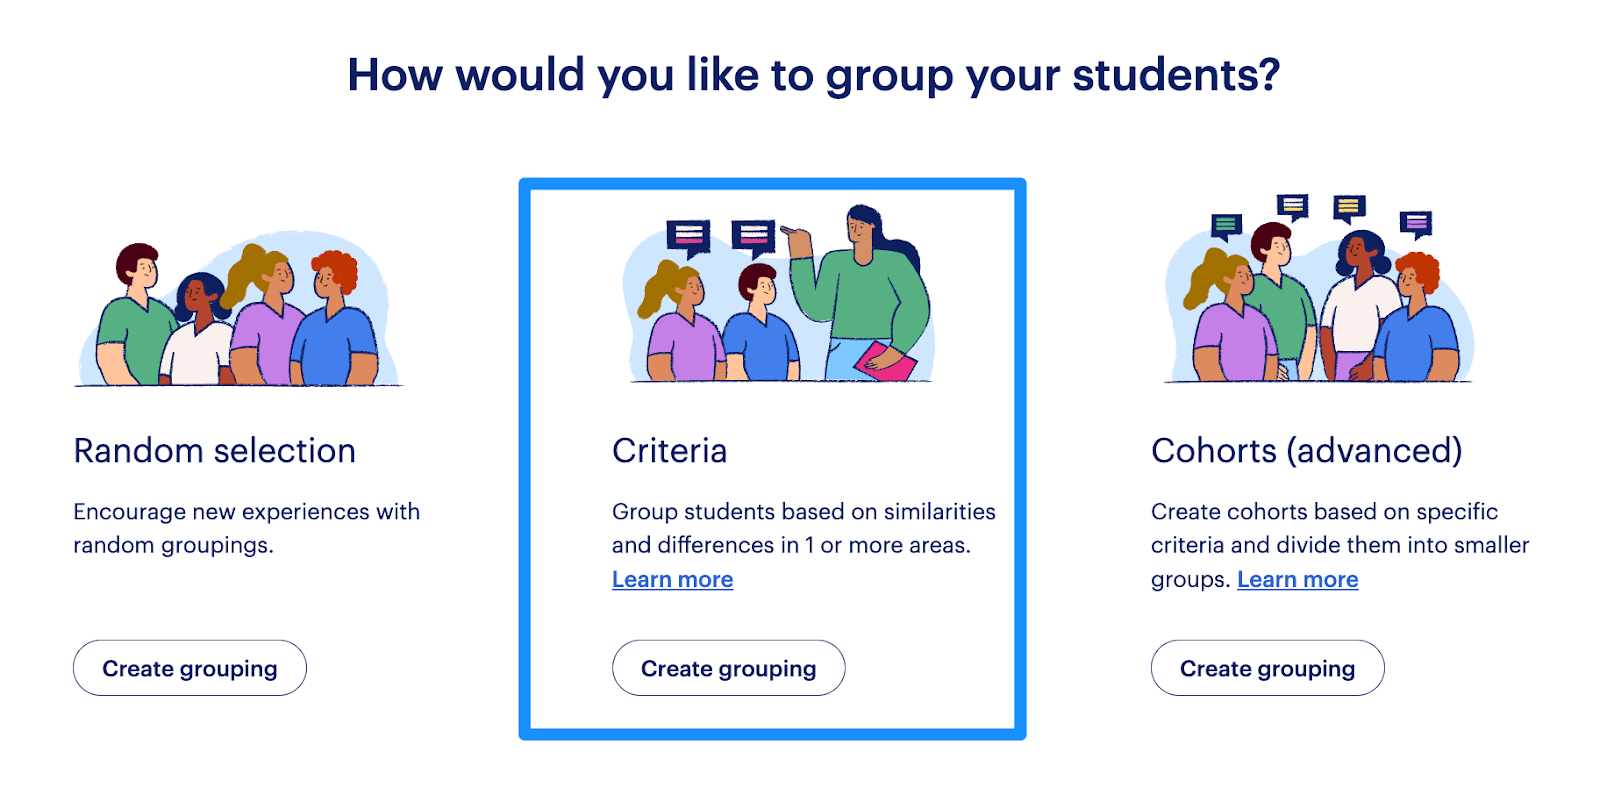
Click Create grouping under Criteria.
Give the group a name.
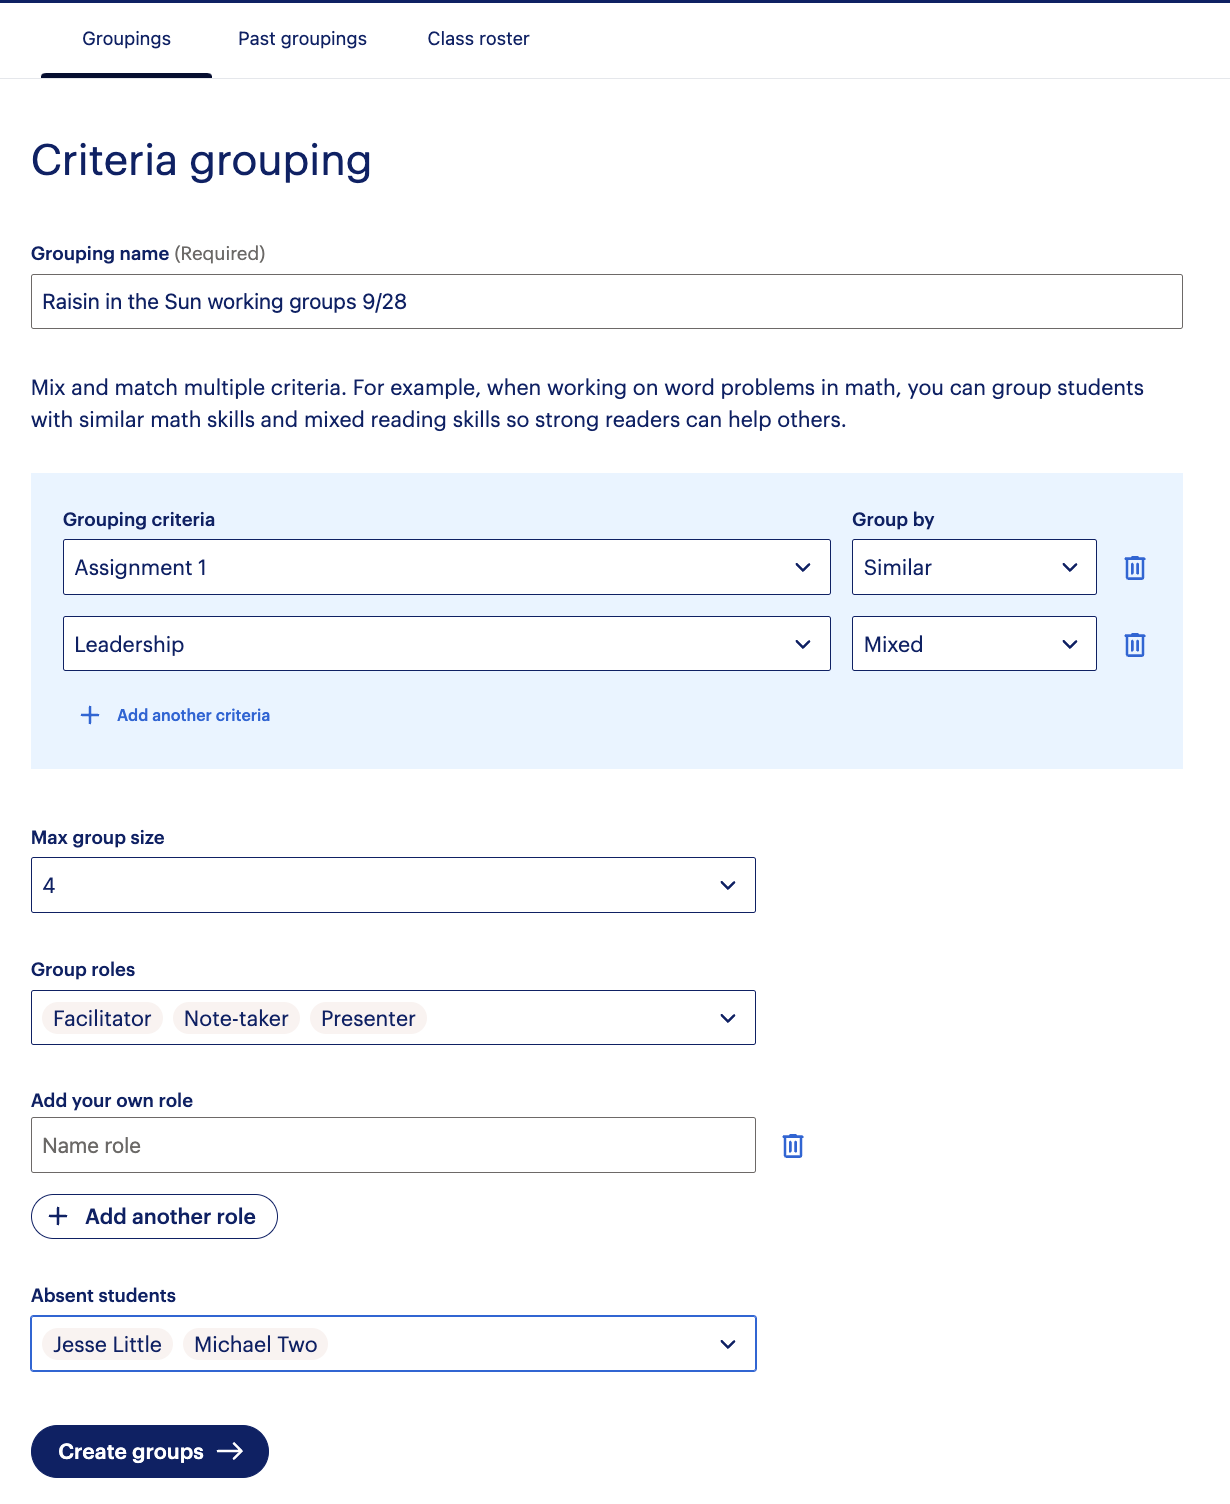
E.g., Monday’s reading assignment discussion.Select one or more criteria you want to use in creating your groups.
Select whether you want to group students with similar criteria mastery, or whether you’d like to mix students with different criteria levels in groups.
Specify the number of students you want in each group with the Max group size.
Select any Group roles you want to assign in each group. You can select more than one role in the list.
E.g., A facilitator, timekeeper etc. You may also add in your own roles.Select any absent students so they aren’t included in groups.
Click Create groups to review the groups.
Click Show to class when you are done reviewing the groups.
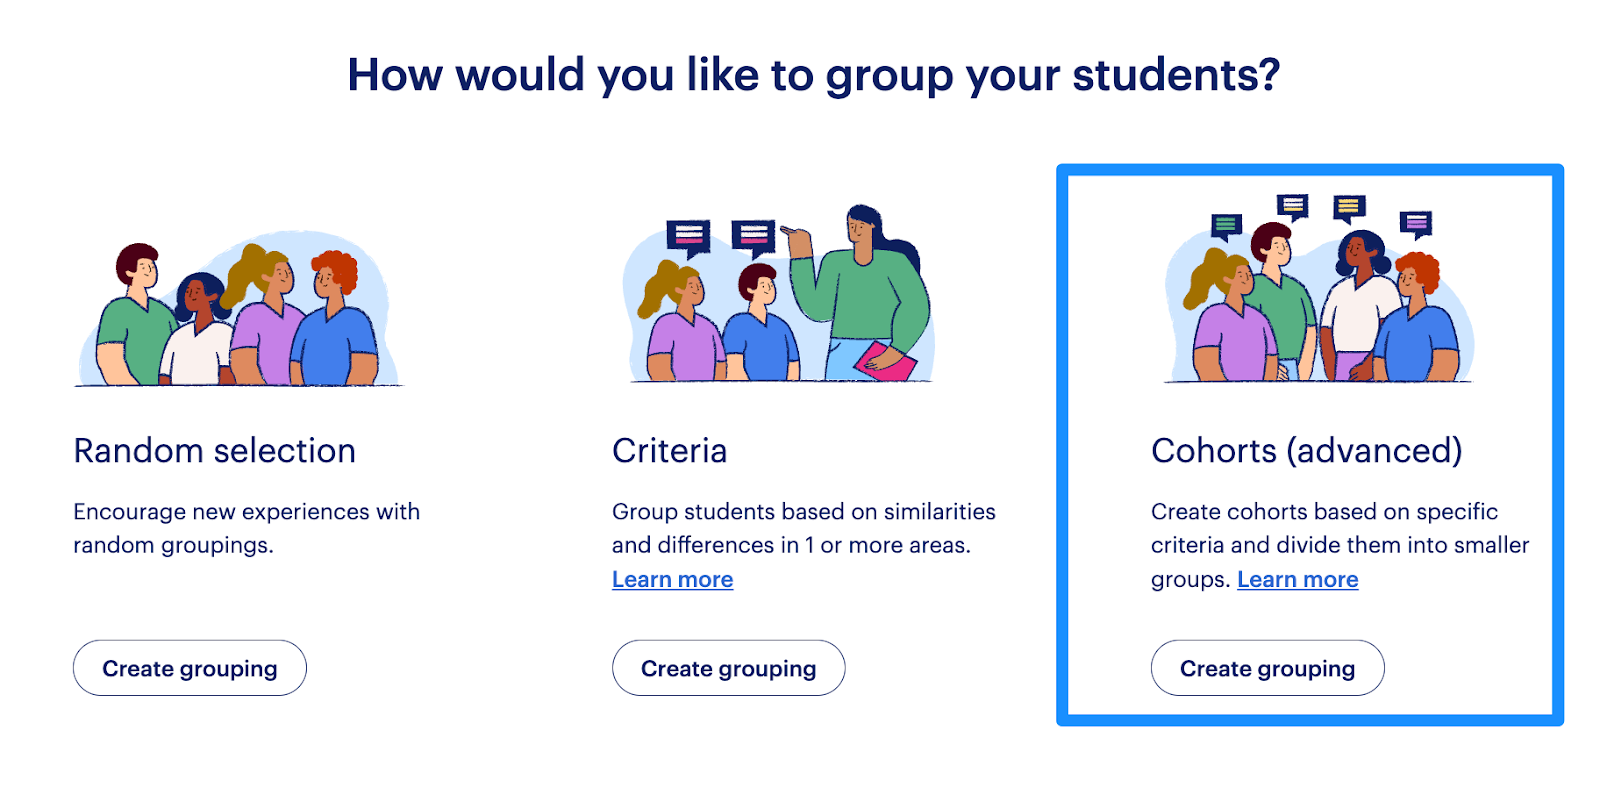
Cohort-based groups
Cohort grouping allows you to create cohorts of students based on specific criteria, and then divide students within a cohort into smaller groups.
E.g., You may want to create a working group of students who need practice on the same skills based on assessments. Since you’d specify exact rules, ‘group with/don’t group with’ would not apply.
Creating cohorts
Select the class you are creating the group for from the list at the top of the page.
Click Create grouping under Cohorts (advanced).
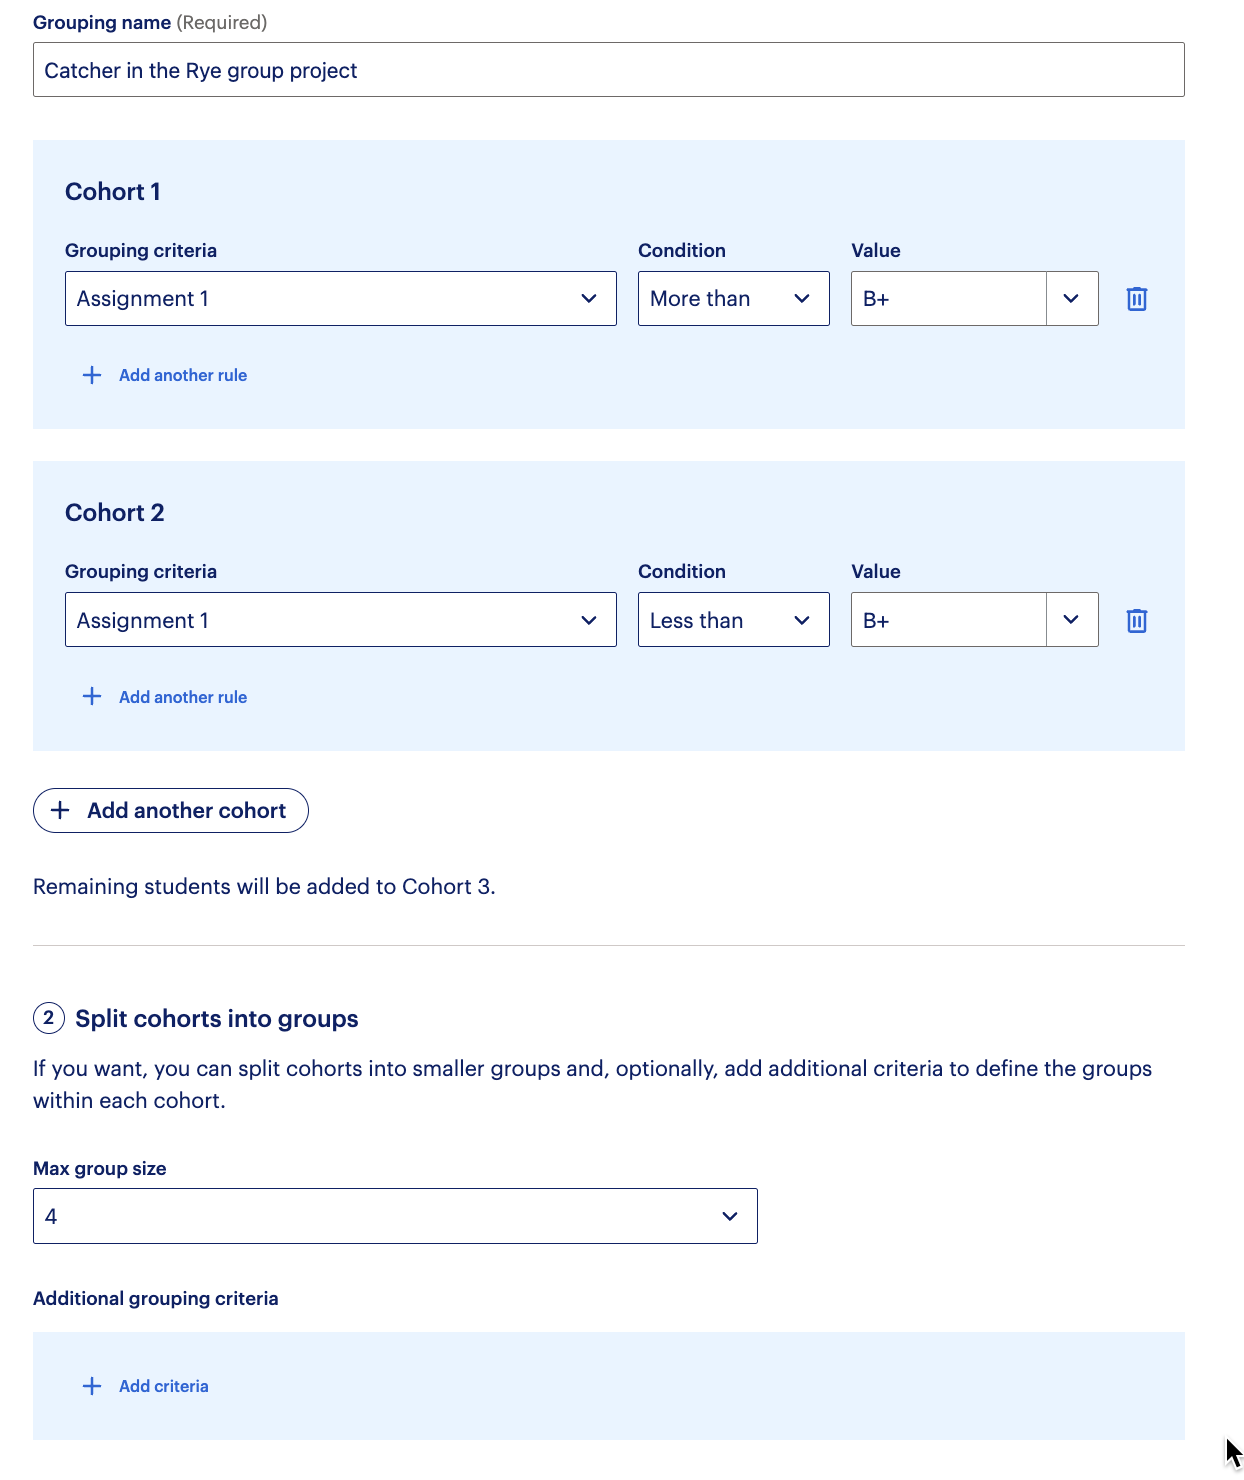
Give the group a name.
E.g., Monday’s reading assignment discussion.Under Cohort 1, add rules for the criteria you want to base groupings on. Use Conditions and Values to specify what you want the cohort to have in common.
E.g., Cohort 1 may include all students who scored 80% or higher on the last assignment.Repeat step 4 to add other cohorts. Students are assigned to the first cohort where they meet the conditions. Any students that don’t meet any cohort criteria will be added to their own cohort.
E.g You could create 3 cohorts where cohort 1 includes students who scored above 80%, cohort 2 includes students who scored between 60% and 80%, and cohort 3 includes students who scored under 60%.You may also split cohorts into smaller groups and add secondary criteria to define the groups within each cohort.
Breaking cohorts into working groups
Specify the number of students you want in each group with the Max group size.
Specify any additional criteria you want to use in creating the groups.
Select any Group roles you want to assign in each group. You can select more than one role in the list.
E.g., A facilitator, timekeeper etc. You may also add in your own roles.Select any absent students so they aren’t included in groups.
Click Create groups to review the groups.
Click Show to class when you are done reviewing the groups.
Reusing groups
You can view and reuse groupings you’ve created.
Click Past groupings and then click the name of the group you’d like to look at.
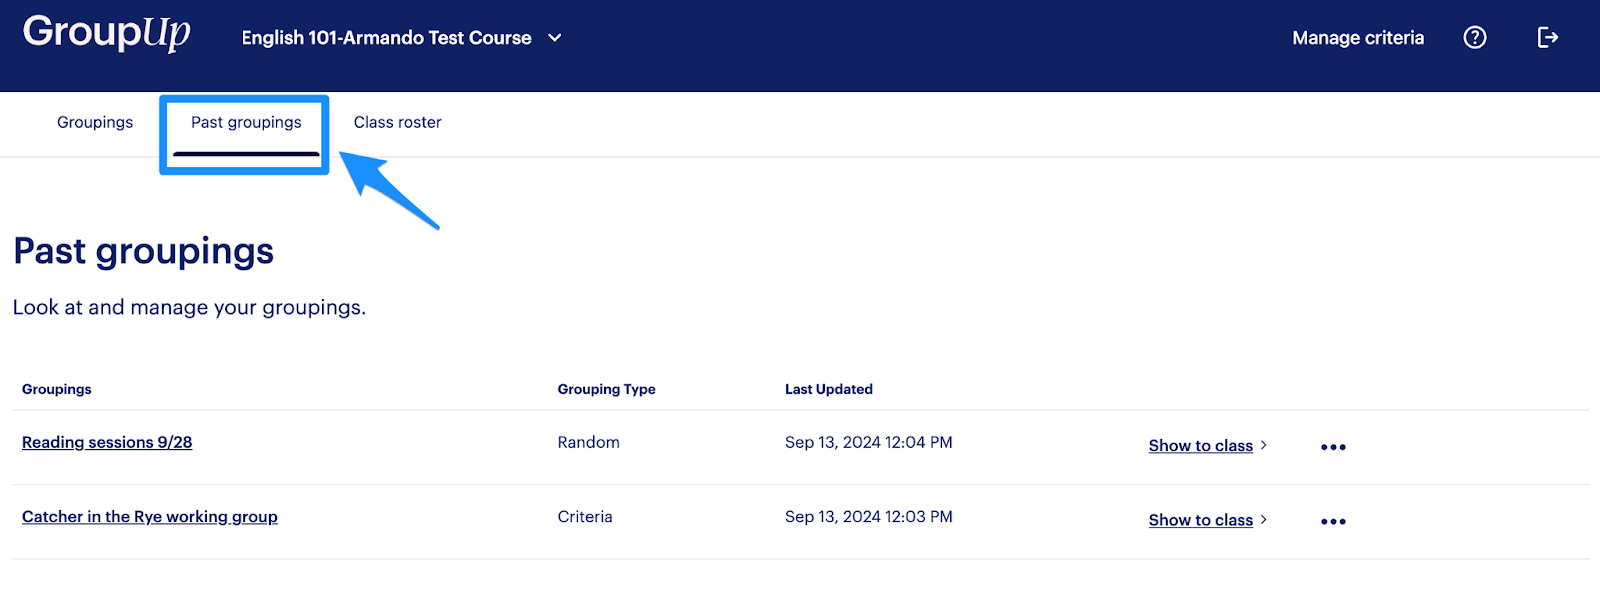
You can switch the criteria type that’s displayed for students by selecting a different one in the Show criteria list.
To move a student to a different group, drag and drop them between groups.
You can also add a new group and move students to that group.
Ungrouped students are shown when they can’t be placed in a group if they’re absent. You can still move them to any group and override if necessary
Any students in the Ungrouped students group will not be shown when you display the groups to the class.
Reviewing and editing groupings
After you have created your grouping you can review them and make changes.
You can:
Drag students to a different group
Rename groups
Add groups
Delete groups
Show student’s ratings for a single criteria
Deleting groupings
To delete a grouping from the Past groupings page, please reach out to us by submitting a ticket.